 CALL US: +91-8657407598


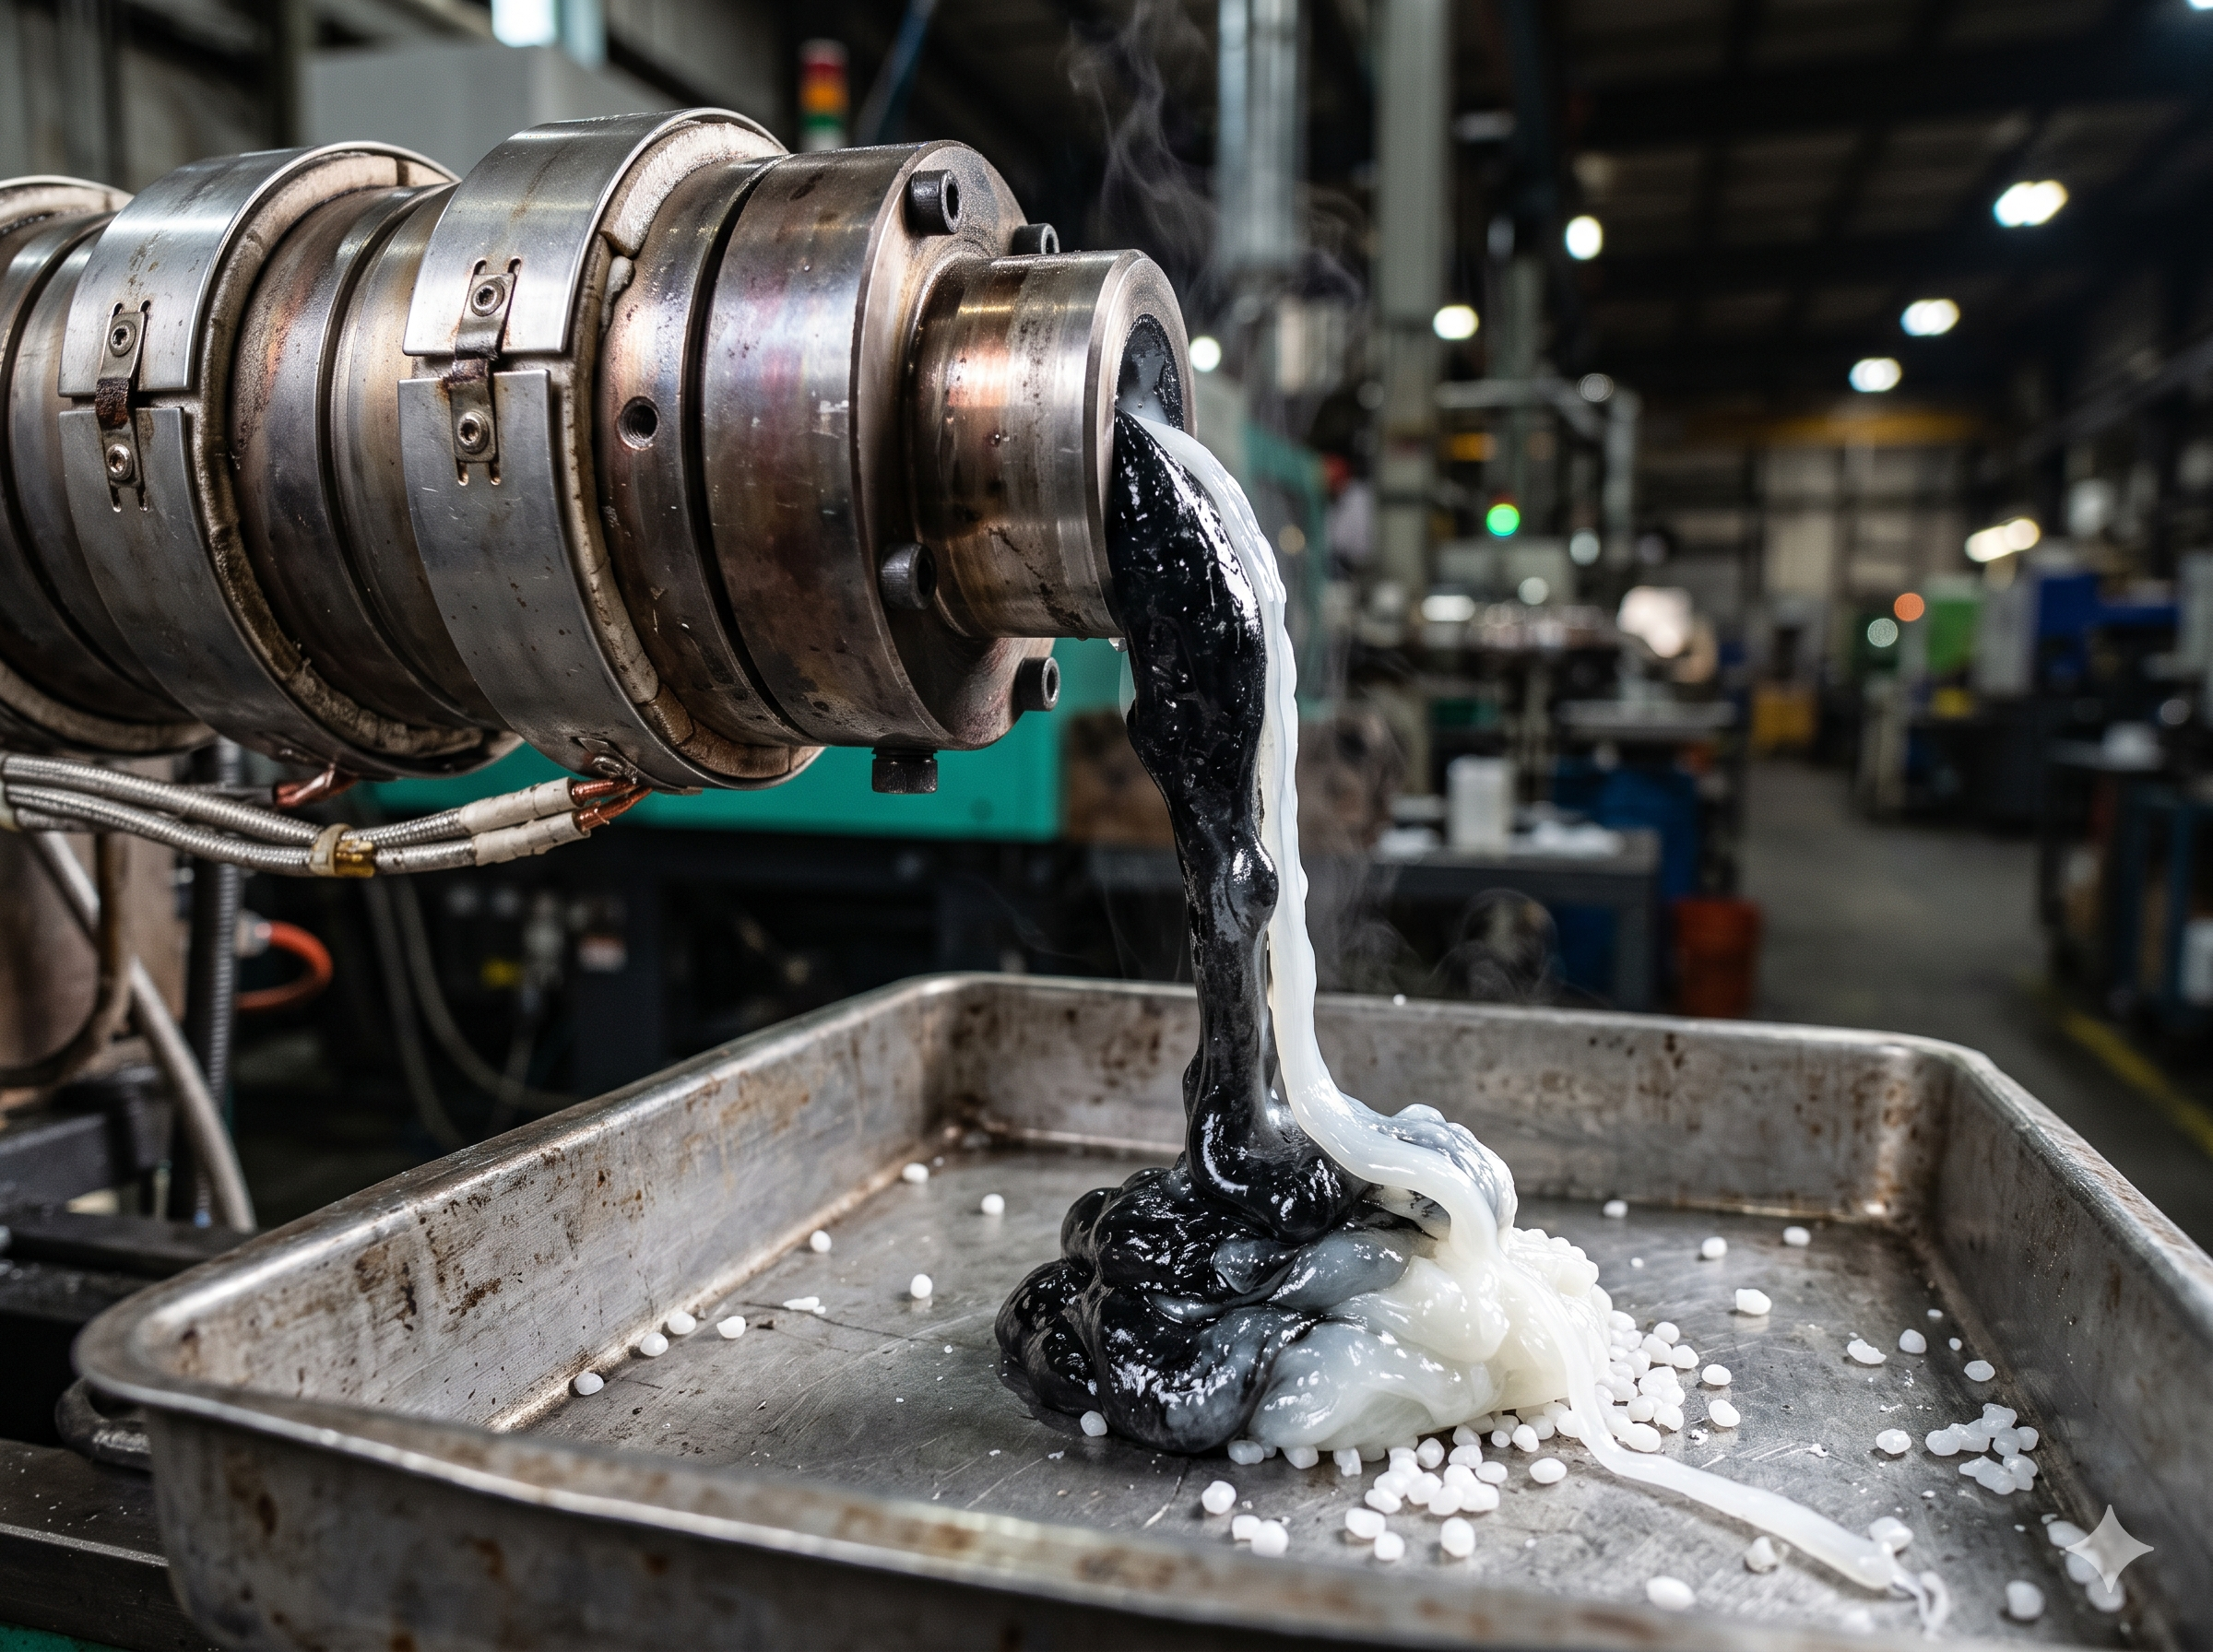
How to Cut Injection Molding Color Changeover Time by 50% with High-Efficiency Purging
Key Takeaways
- Resin-on-resin purging is slow, wasteful and unpredictable; a dedicated purging compound cleans the screw and barrel in a fraction of the time.
- Empty the barrel first, purge at the right temperature, use enough compound, and keep screw speed high within safe limits.
- Measure minutes, kilograms and rejected parts before and after, so the improvement is proven on your own machines.
- Flamingo states that Clean Xpress Purging Compound is 2-6 times faster than virgin resin and 100 times faster than manual cleaning.
Every color change on an injection molding machine is a small production loss. The press sits idle, the operator burns through natural resin or regrind, and the next order starts late. Across a month of changeovers, this becomes one of the biggest hidden costs on a molding floor.
Why Resin-on-Resin Purging Costs So Much
Production resin is not designed to clean. It flows mostly along the center of the melt stream and leaves a stagnant layer on the screw and barrel wall that sheds slowly into the new color. The result is long purge times, streaky parts and plenty of scrap. The true cost includes lost machine hours, rejected shots and operator time, not just resin.
What a High-Efficiency Purging Compound Does Differently
A good purge combines two actions. Its structure creates strong shear against the barrel wall to scrub away residual melt, and its formulation helps lift pigment, carbon and degraded polymer out of the system. Clean Xpress is a hybrid: it delivers mechanical cleaning without abrasion plus chemical cleaning strength, with the carrier selected to suit the resin you are cleaning.
A Practical Changeover Procedure
Step 1: Run out the old material
Empty the hopper and run the barrel nearly empty so the purge contacts the screw directly instead of mixing with a full charge of old resin.
Step 2: Set the right temperature
Follow the compound supplier's guidance, which usually relates to the resin you are leaving. Do not exceed the compound's thermal limits.
Step 3: Introduce the purge in a sized charge
A common starting point is roughly one to three times the barrel capacity. Refine it through trials on each machine.
Step 4: Maximize shear safely
Use high screw speed and back pressure within safe limits. Retract the screw and shoot to air in short cycles.
Step 5: Soak if needed, then bring in the new resin
For heavy buildup, a short soak followed by another purge helps. Then push the compound out with the new material and confirm color on the first parts.
How to Measure the 50% Goal
Before changing anything, time several typical changeovers: minutes from last good part to first good part, kilograms purged and parts scrapped. Repeat after standardizing the new procedure. Plants that follow this approach often see significant reductions, but results depend on resin pair, machine size, hot runner design and color contrast. Treat 50% as a target to be proven in your own trials, not a guarantee.
| Metric | Resin-on-resin (baseline) | With purging compound (target) |
|---|---|---|
| Minutes to first good part | Record on 3-5 changeovers | Aim for roughly half |
| Material used to clean | Record kilograms | Measure reduction |
| Rejected parts after restart | Record count | Measure reduction |
Common Mistakes to Avoid
- Using too little purge or purging at the wrong temperature.
- Letting each operator improvise; write a per-machine, per-material procedure and post it at the press.
- Skipping hot runners: dead spots hold color, so cycle the purge through the manifold and nozzles and check gates before restarting.
Frequently Asked Questions
Which processes can use Clean Xpress?
Flamingo lists solutions for injection molding, pipes, tubes and profiles, wires and cables, engineering polymers, compounding, and blown and cast films.
Does a purging compound replace manual screw cleaning?
For routine color and material changes, it can greatly reduce the need to pull the screw. Heavily contaminated screws may still need maintenance cleaning.
Get the Clean Xpress Datasheet
See grades, features and recommended use on the Clean Xpress Purging Compound page and use the "View Datasheet" button to download the technical datasheet. Share your resin, machine size and current changeover time via the enquiry form, and our team will recommend a purge procedure to trial on your floor.
